
Custom Plaid Mural Wall Featuring The Sherwin-Williams 2024 Color Of The Year
Hey, y'all! We are so excited to share our very first Maine project with you - a custom plaid wall mural featuring the Sherwin-Williams® 2024 Color of the Year: Upward SW 6239!
// Disclosure: This project was performed in partnership with Sherwin-Williams. We thank you for your support!


Now I know we said that our entire focus for Maine this year is systems, systems, systems. The house was built in 1975 and while the systems are mostly working, they are on the brink of failure. These updates are time consuming (and very expensive) and as a result, we are not doing any major interior renovations until next year.
BUT… that does not mean we don’t have time for a quick and affordable weekend paint project!
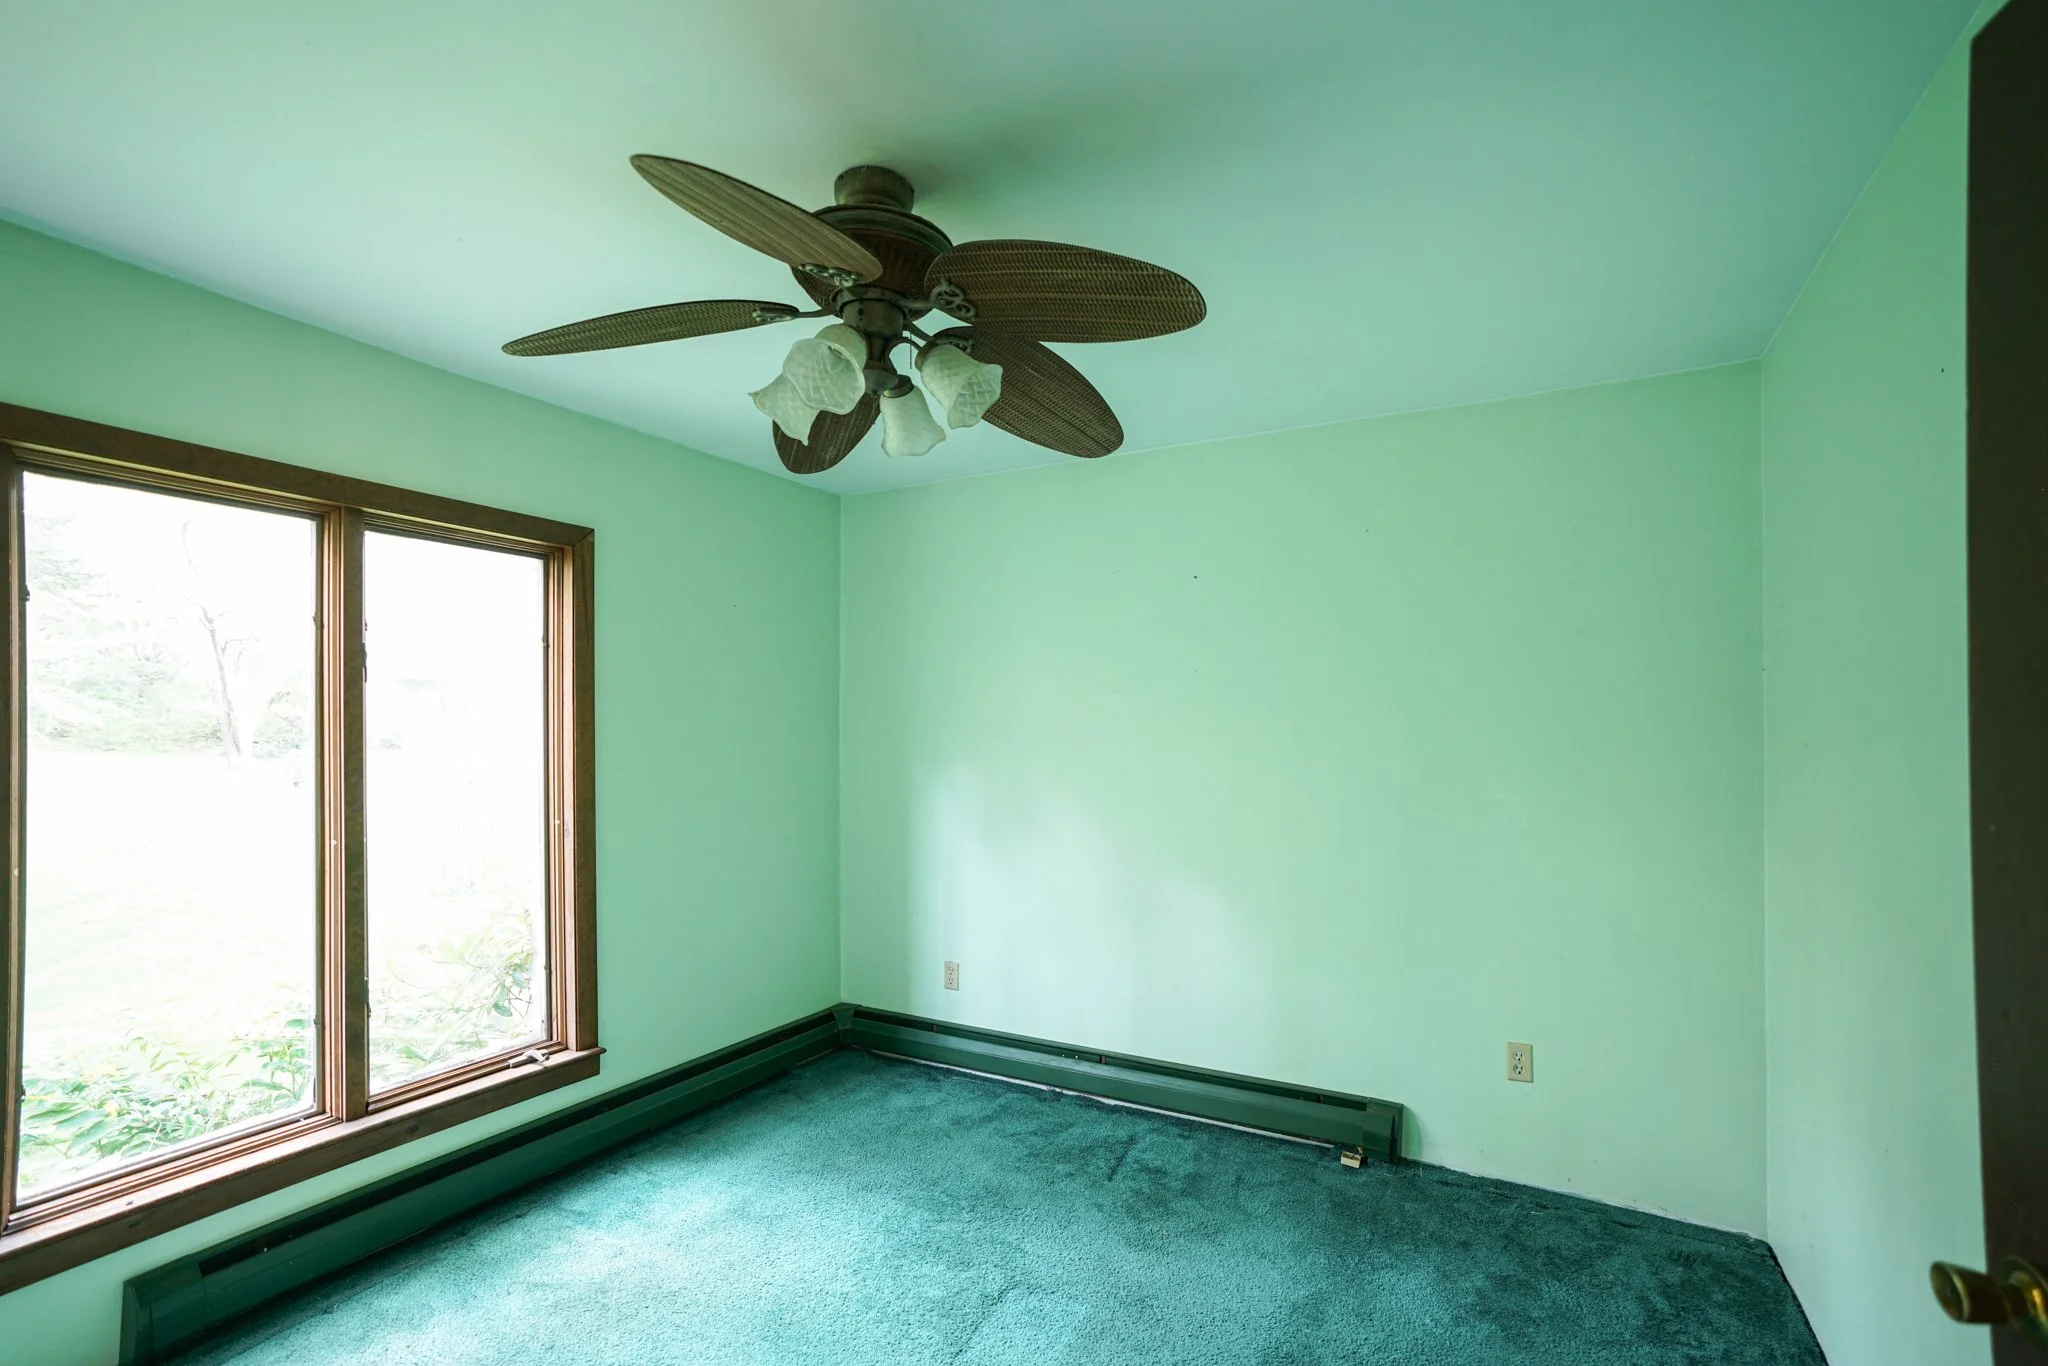
The Before
So let’s do it! Let’s dive into the world of custom plaid wall murals and give it a try - after all, we have never done anything like this before.
Design & Palette
We started by choosing our palette for this project, anticipating that we would need at least 4-5 complementary colors to complete the design. For our base color, we chose the Sherwin-Williams® 2024 Color of the Year, Upward SW 6239 and then utilized the Sherwin-Williams website to identify the colors to be used in the plaid mural and on the floor. We (by we I mean Stephen) then laid out example plaid configurations using reference images and wallpapers that he found online.

Sherwin-Williams complimentary color recommendations.
Our Color Selections
Upward SW 6239 in flat for the walls and ceiling
Antiquarian Brown SW 0045 for the base grid
Drift of Mist SW 9166 & Gale Force SW 7605 for the top grids
Palm Leaf SW 7735 for the floor
All of the wall paint is 2 gallons of Emerald® Interior Acrylic Latex Paint in Flat and the floor is 1 gallon of Porch & Floor Enamel in Satin. All of the plaid colors are 1 quart cans of Emerald® Interior Acrylic Latex Paint in Flat.

This image shows how we planned to apply the various layers of plaid, starting with Upward SW 6239 as a base.
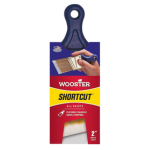
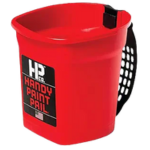
Our Paint Project Favorites


PREPARING for Paint
We started by cleaning the room and doing all of the standard paint preparation steps. We removed the rug and very sad ceiling fan before going into deep cleaning mode. Washing windows, wiping down wood work, and cleaning the walls with a damp cloth. We then prepped the walls by filling any small holes and sanding any rough spots. We also took an additional step and caulked the corners of the room - which we sometimes do to help smooth out any imperfections.
First Coats
We started with a fresh coat of paint on all of the walls - and in a last minute decision - the ceiling. We went back and forth about the ceiling a couple of times but Stephen ended with “have we ever regretted painting the ceiling?” and the answer was a clear no. With the ceiling painted the same color as the walls we effectively decreased the contrast and allowed the plaid design to stand on its own (without butting up against a pure white ceiling). We applied two coats of Upward SW 6239 and waited for the paint to dry.
First Layer of Plaid
We will admit, looking at plaid can be kind of confusing. What is the easiest way to achieve the effect with as little taping or switching of colors as possible? To help us out Stephen created the diagram above so that we could more easily visualize the layers and our order of operations.

Stephen taping the walls for the first layer of plaid.
We created a perfect grid (specific to our wall size) and our desired number of repeats or sections. Increasing the number of repeats results in a denser plaid - and more work. By contrast, decreasing the number of repeats allows for a simple plaid with more breathing room. We wanted to go denser keeping in mind the amount of work it would take.
For the first layer Stephen applied vertical and horizontal painters tape using a laser level as a guide. After taping in both directions (maintaining a 3/4” gap for paint) he used a ruler and razor blade to cut out the intersections.
// FAQ: Although we are glad to have taped the first layer it took FOREVER. We abandoned any tape for layer 2, and 3 and opted to freehand the rest of the pattern while using the laser as a guide.

Grid taped and intersections cut out - ready for paint.
We then applied our very first plaid layer - Antiquarian Brown SW 0045 - using a sponge. We have never done this before but our hypothesis was that a sponge would provide texture and would also eliminate any brush marks. We were very happy with the look and would have used the sponge for every layer if we had continued to tape. Once we completed painting we immediately removed the tape - ensuring sharp lines.


Layer 1 complete! The grid looks so awesome.
Plaid Layers 2 & 3
We allowed the paint to dry for a couple of hours and got right to the next layer - Drift of Mist SW 9166 - which consists of 4 vertical lines and 3 horizontal lines per repeat. Because Stephen freehanded these layers, they are exactly one vertical brush thick. He started by measuring out the lines and marking them with pencil along the ceiling and side wall. Using the laser as a guide he pulled paint across the wall as carefully as possible.
One interesting thing he did was start pulling right at the corner creating a natural start line. We did not go back in and square it off so the lines look natural and soft. We quickly started to really appreciate the ‘hand’ in it all, rather than it being perfect lines.
Once done with Layer 2 (Drift of Mist SW 9166), Stephen repeated the process with the final layer - Gale Force SW 7605. Layer 3 is exactly the same as layer 2 but it is offset to the right. At this point Stephen was feeling pretty shaky but determined to get this mural done. He was fueled by excitement - this mural was turing out amazingly!

Painting the Floor
As we mentioned - we were looking for a weekend project - not a major renovation. The floors under the carpet are a finished ply or composite from the 70’s and other than a couple stains are in fairly good shape. We have painted decks before so why not bedroom floors? Even if just temporary it is a great and affordable solution to clean up a space (and we will cover most of it with an area rug anyway!) We opted for Palm Leaf SW 7735 in Sherwin-Williams Porch & Floor Enamel in Satin and rolled the floors after cutting in along the edges. The impact was immediate and we are so glad we decided to do it.

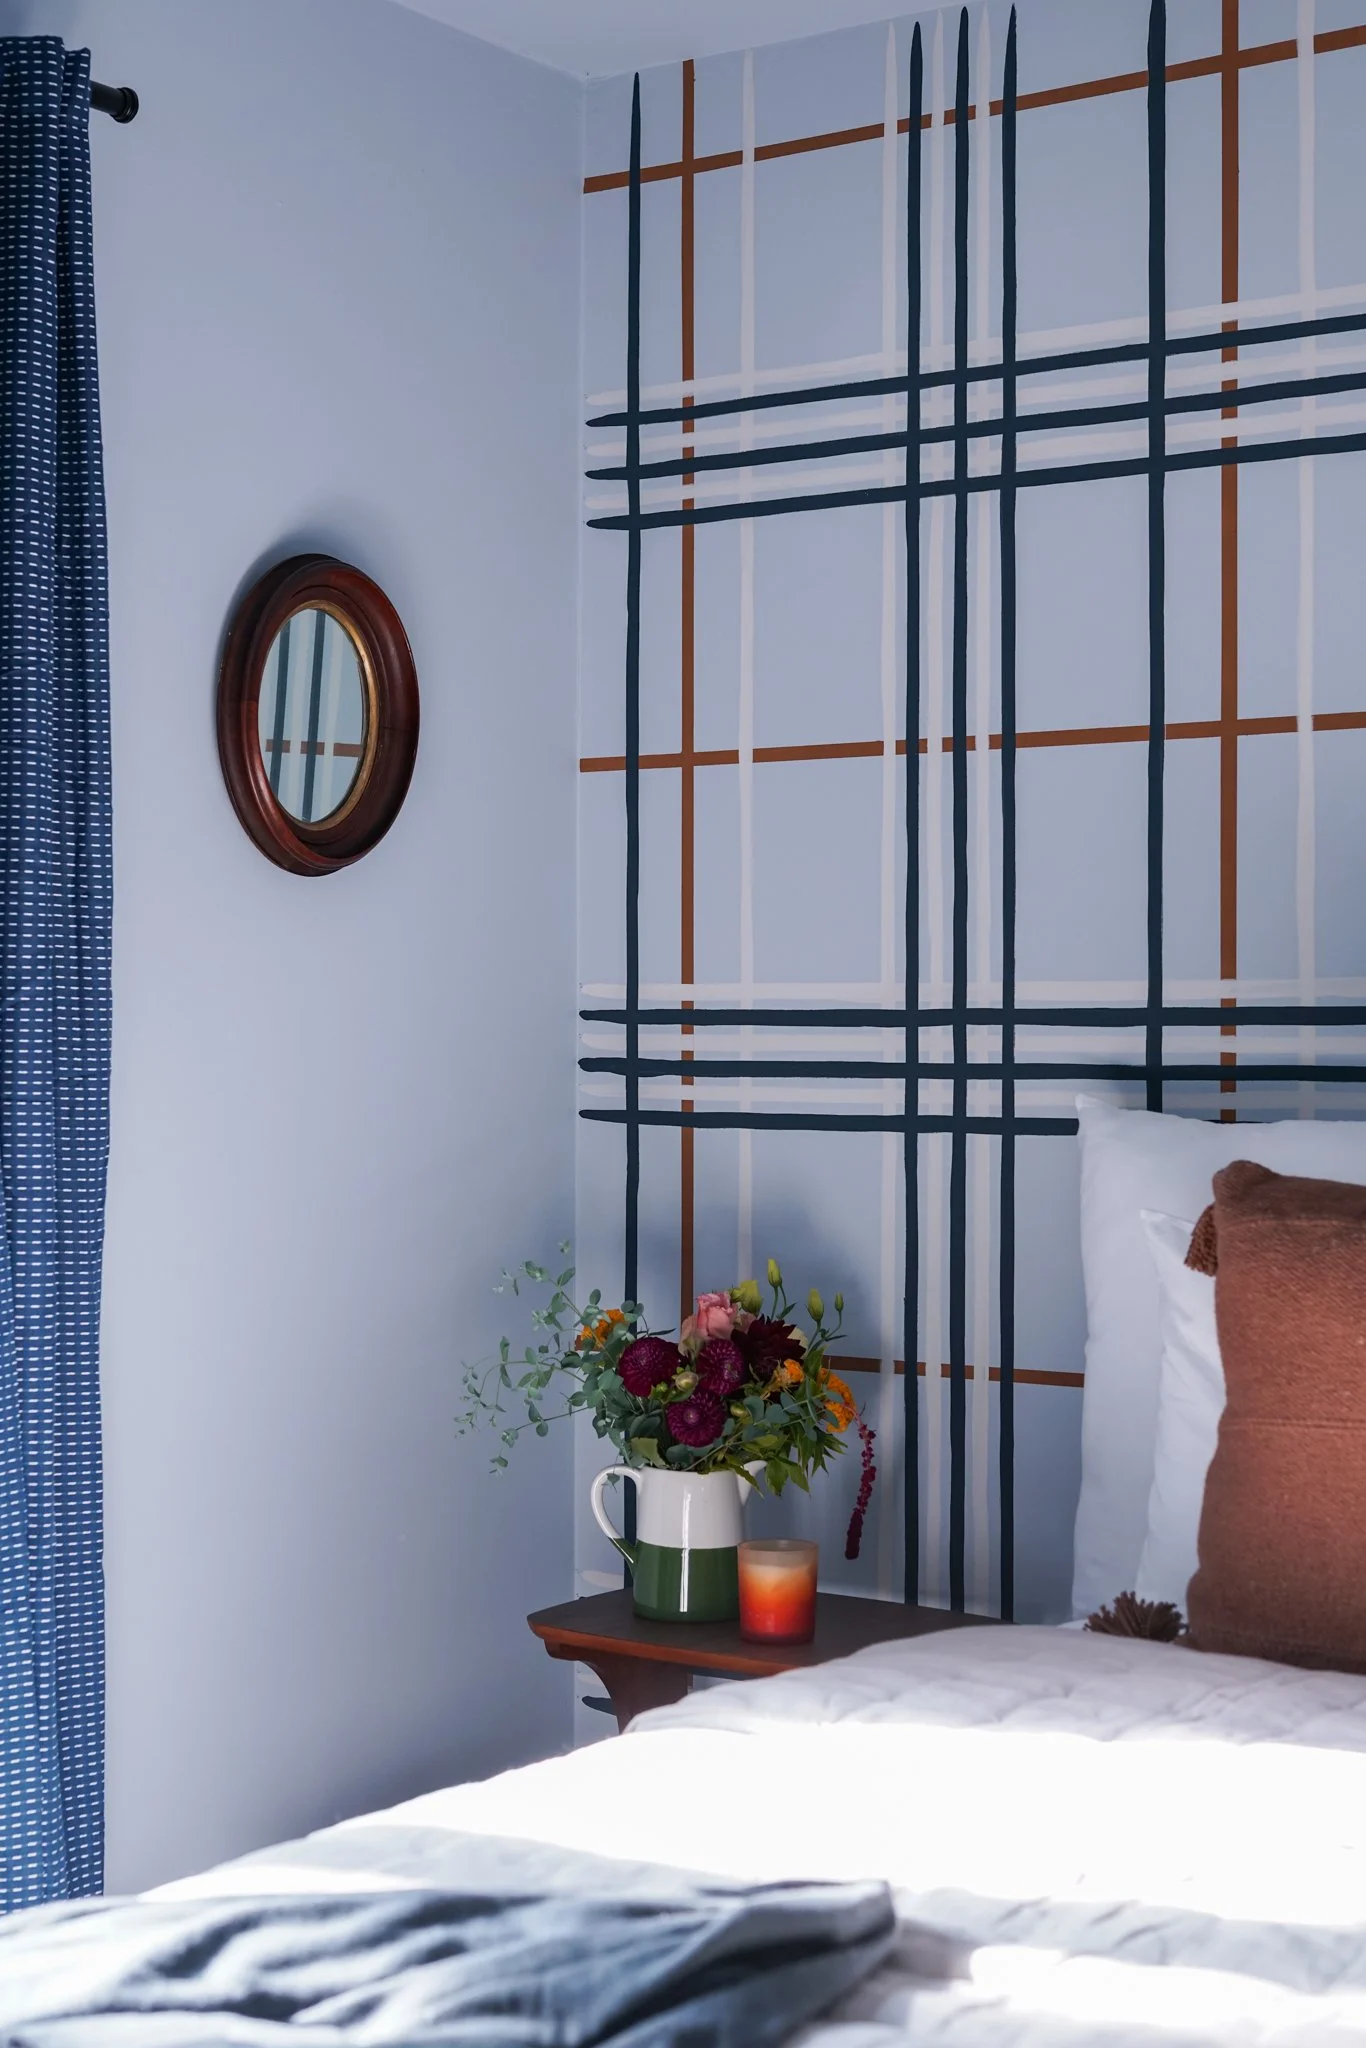
Finishes
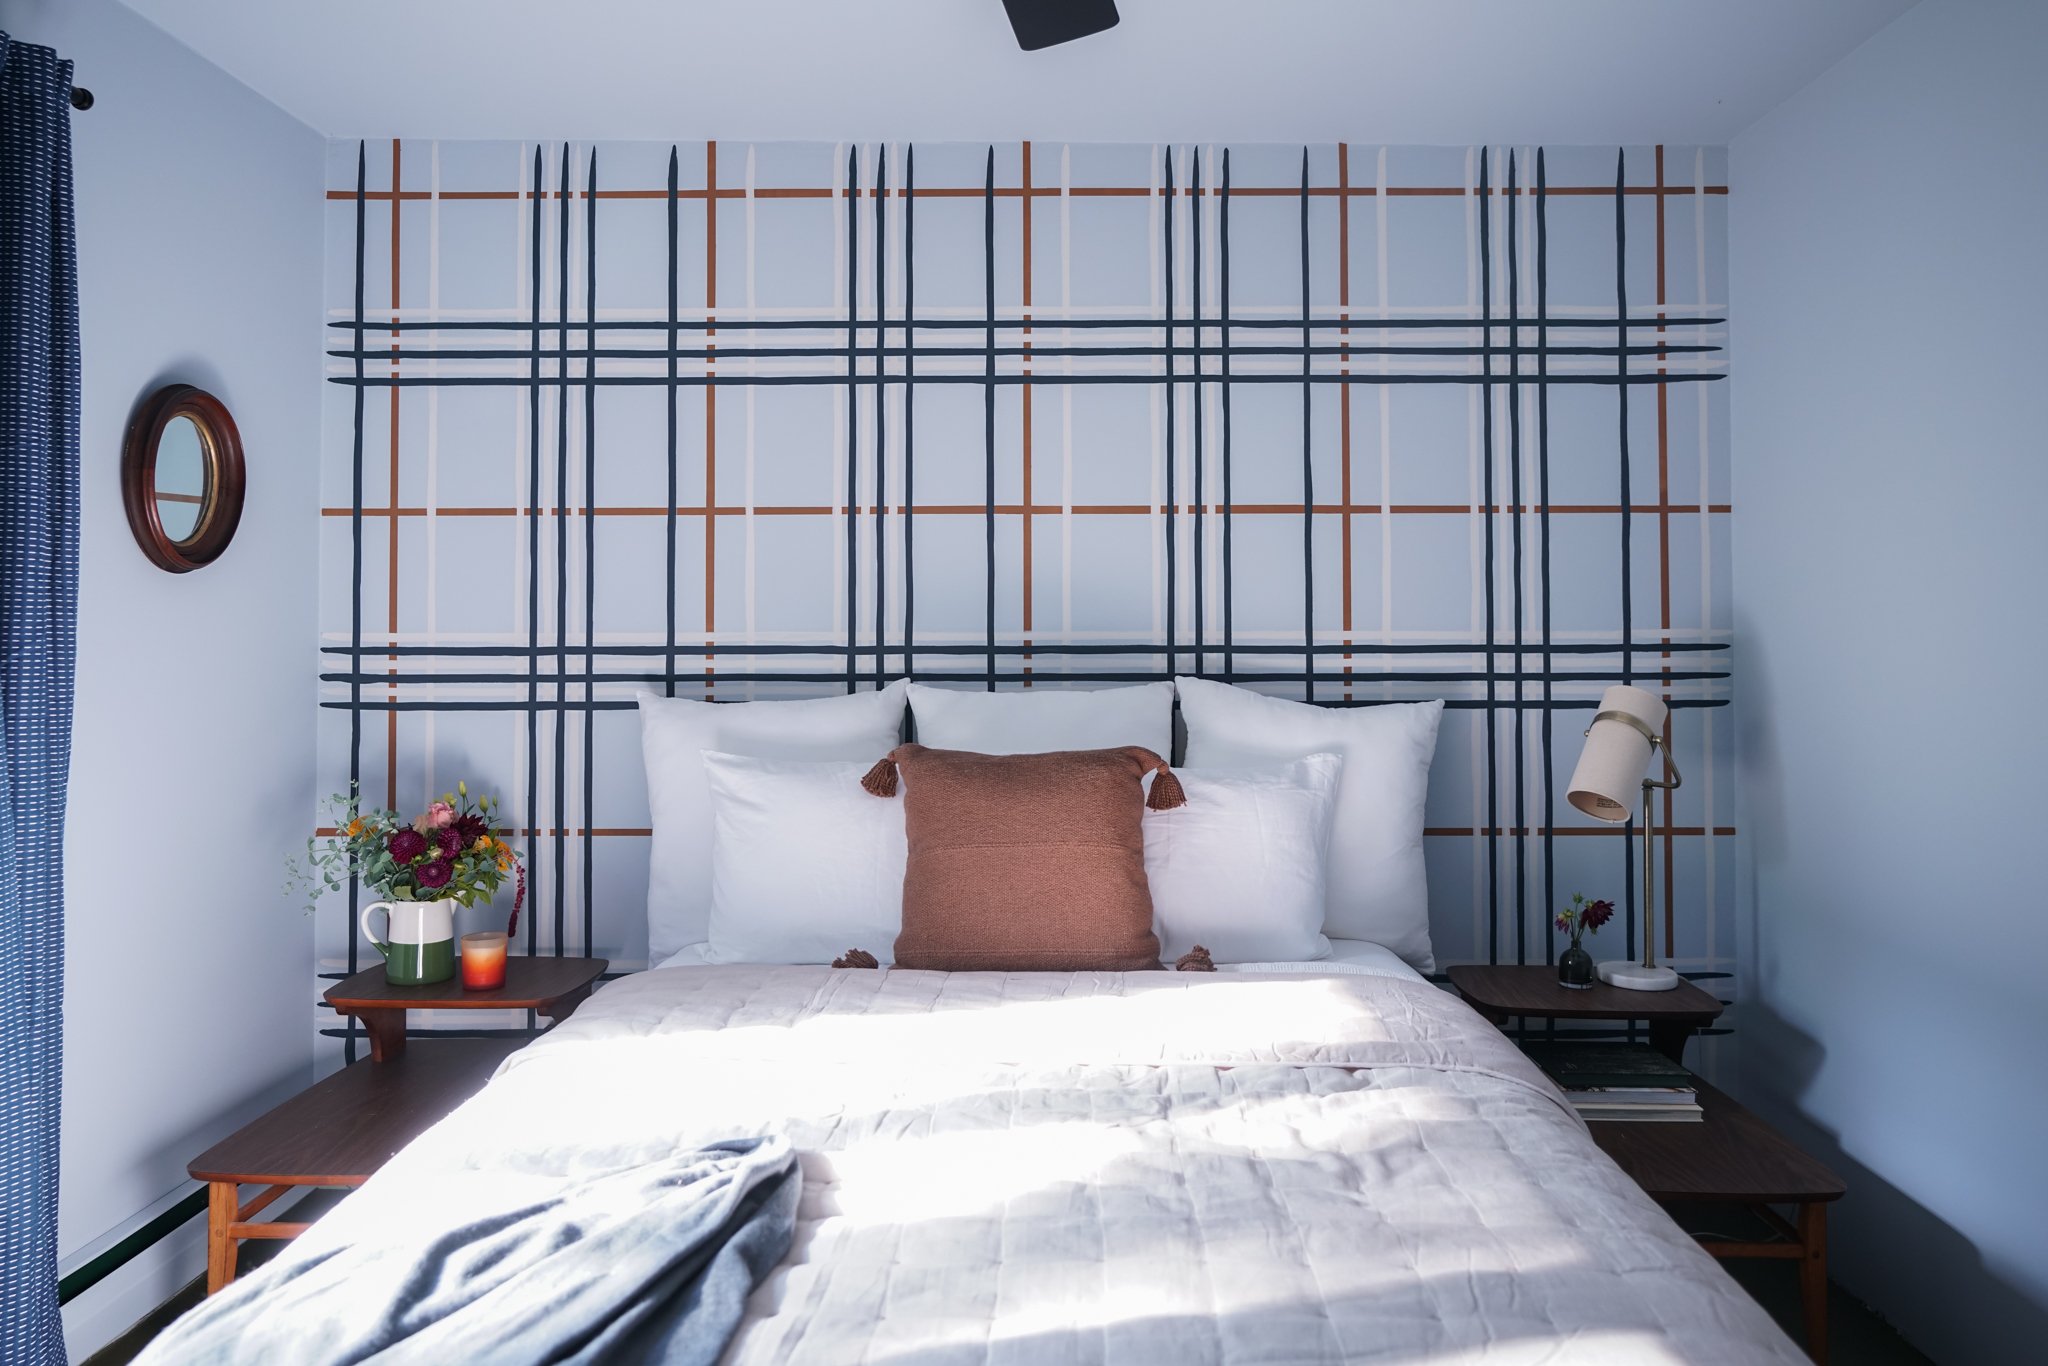
We took a break between layers to go do some antiquing…. we found two amazing, authentic mid-century side tables, picked up a new mattress & linens, and used a lamp sourced by Stephen’s mother to complete the look. We added the cutest wood oval mirror that’s been kicking around for years and added curtains to the windows for some more texture and color. Finally - we added an 8x10 area rug and installed a new ceiling fan.
And this is just the beginning! We don’t typically design a space top to bottom all at once. We prefer to try a mix of things we already own with things that we find… allowing ourselves to just sit with a space for a while before making any big decisions. For now we are going to enjoy our amazing new plaid wall mural and invite our friends and family up for the weekend!

Final Thoughts
We are so happy with how this project turned out. We have never painted plaid before, it was relatively easy to do and created a huge impact. Our moms thought it was wallpaper!
So we want to encourage you to try something new, after all - it’s only paint!


