
Refinishing Our Own Floors
We finally refinished our own floors here in Maine, and we want to tell you all about it. While we would normally hire this type of project out, no one was available for months - so we did some research and got to work!

ToolS
We rented three sanders from Home Depot for this project, and they all turned out to be necessary to get the job done.
The Drum Sander - this is the heavy duty one that takes off the bulk of the finish. It is quite heavy and, what I learned on my first pass, it really pulls you. The most important part of this tool is practicing before you use it to avoid what is called a drum mark - essentially when the tool sits in one spot too long and carves out a groove. Home Depot carries the sandpaper in the rental area for this tool and we got it 36 and 60 grit options.

The Drum Sander really takes the bulk of the finish off and can be a bit tricky to use.
The Edge Sander - We rented this one because you guessed it, the drum sander doesn’t quite get the edges. This machine was the hardest to use because it REALLY pulls you. We used it on our knees and it was the hardest core workout - so sore the next day. This machine could also be destructive by carving grooves into your floor. If in doubt, start with higher grit paper so there is less opportunity for damage. Home Depot also carries this sandpaper in the rental area.

The Edge Sander is my least favorite tool so far.
The Orbital Sander - this is labeled a “medium duty” sander and it was the easiest to use. If you are really uncertain about the other tools but still want to try doing your floors yourself - this is the way to go, it will just require many passes and a lot of patience. Home Depot also carried the paper for this sander at various grits. Its heavy, but it’s also realllly easy to use.

The Orbital Sander was an all-star. With a lot of patience you could probably use this one most of the time.
Hand Orbital Sander - we had a corded hand sander already. Stephen went around and used this to touch up any spots, smooth out the grooves, or hit spots that the big machines missed. You do not want to do the entire floors this way.
Sanding Process
Sanding is a tedious process but there is no way around it. Feel free to repeat any of these steps more than once, or even going backwards if you need to. The level of difficulty is going to be tied to the existing floor type and existing stain/finish.
Drum Sander with 36 Grit Paper: multiple passes with the grain to remove the finish and knock down some of the cupping that had occured. You can also go diagonally but I went with the grain. We found that slow passes while letting the machine do the work was best
Drum Sander with 60 Grit Paper: multiple passes to continue removing the finish
Edge Sander with 60 Grit Paper: went around the edges of the room to remove what the Drum Sander could not reach
Orbital Sander with 80 Grit Paper: sanded the entire floor in a slow fluid motion, the machine gets pretty close to the edge and is fairly easy to use
Hand Orbital Sander with 80 Grit Paper: went around the edges to smooth out the floors and blend the line between the drum sander and the edge sander
Orbital Sander with 120 Grit Paper: repeat the process of slowly sanding the entire floor
Orbital Sander with 220 Grit Paper: repeat the process of slowly sanding the entire floor
Hand Orbital Sander with 220 Grit Paper: any last second touch ups
CLEAN: like your life depends on it

The floors during our final sanding and clean up - just before finishing.
Finish Process
We did a lot of research on different finishes and how they were applied. We mostly researched Bona water based products but that all changed when we went in to buy it. Our local flooring distributor asked us about our project (it was fairly obvious that we had never done this before) and he highly recommended that we use Loba products instead because “you can’t mess it up”. We took the advice and we are glad that we did. We purchased all of the following Loba supplies on site and applied them in this order:
Step 1: Loba Easy Prime - This rolled on first against the grain, and then with the grain using the Loba Micro 120 Roller (we used the same roller type for the entire project and grabbed a fresh one for each step). We watched this video which was the most helpful in learning the best way to apply the product. One thing we did differently was that we poured the finish directly on the floor rather than using a rolling tray or bucket.
// Note: We added 1 bottle of the Loba Whitener to each container of Loba Easy Prime. We think about this as more of an “anti-yellow” than a whitener persay. We love how it worked.
// Note: This raises the grain of the floor, that is expected!
// Note: Just follow the manufacture recommendations for timing your coats.
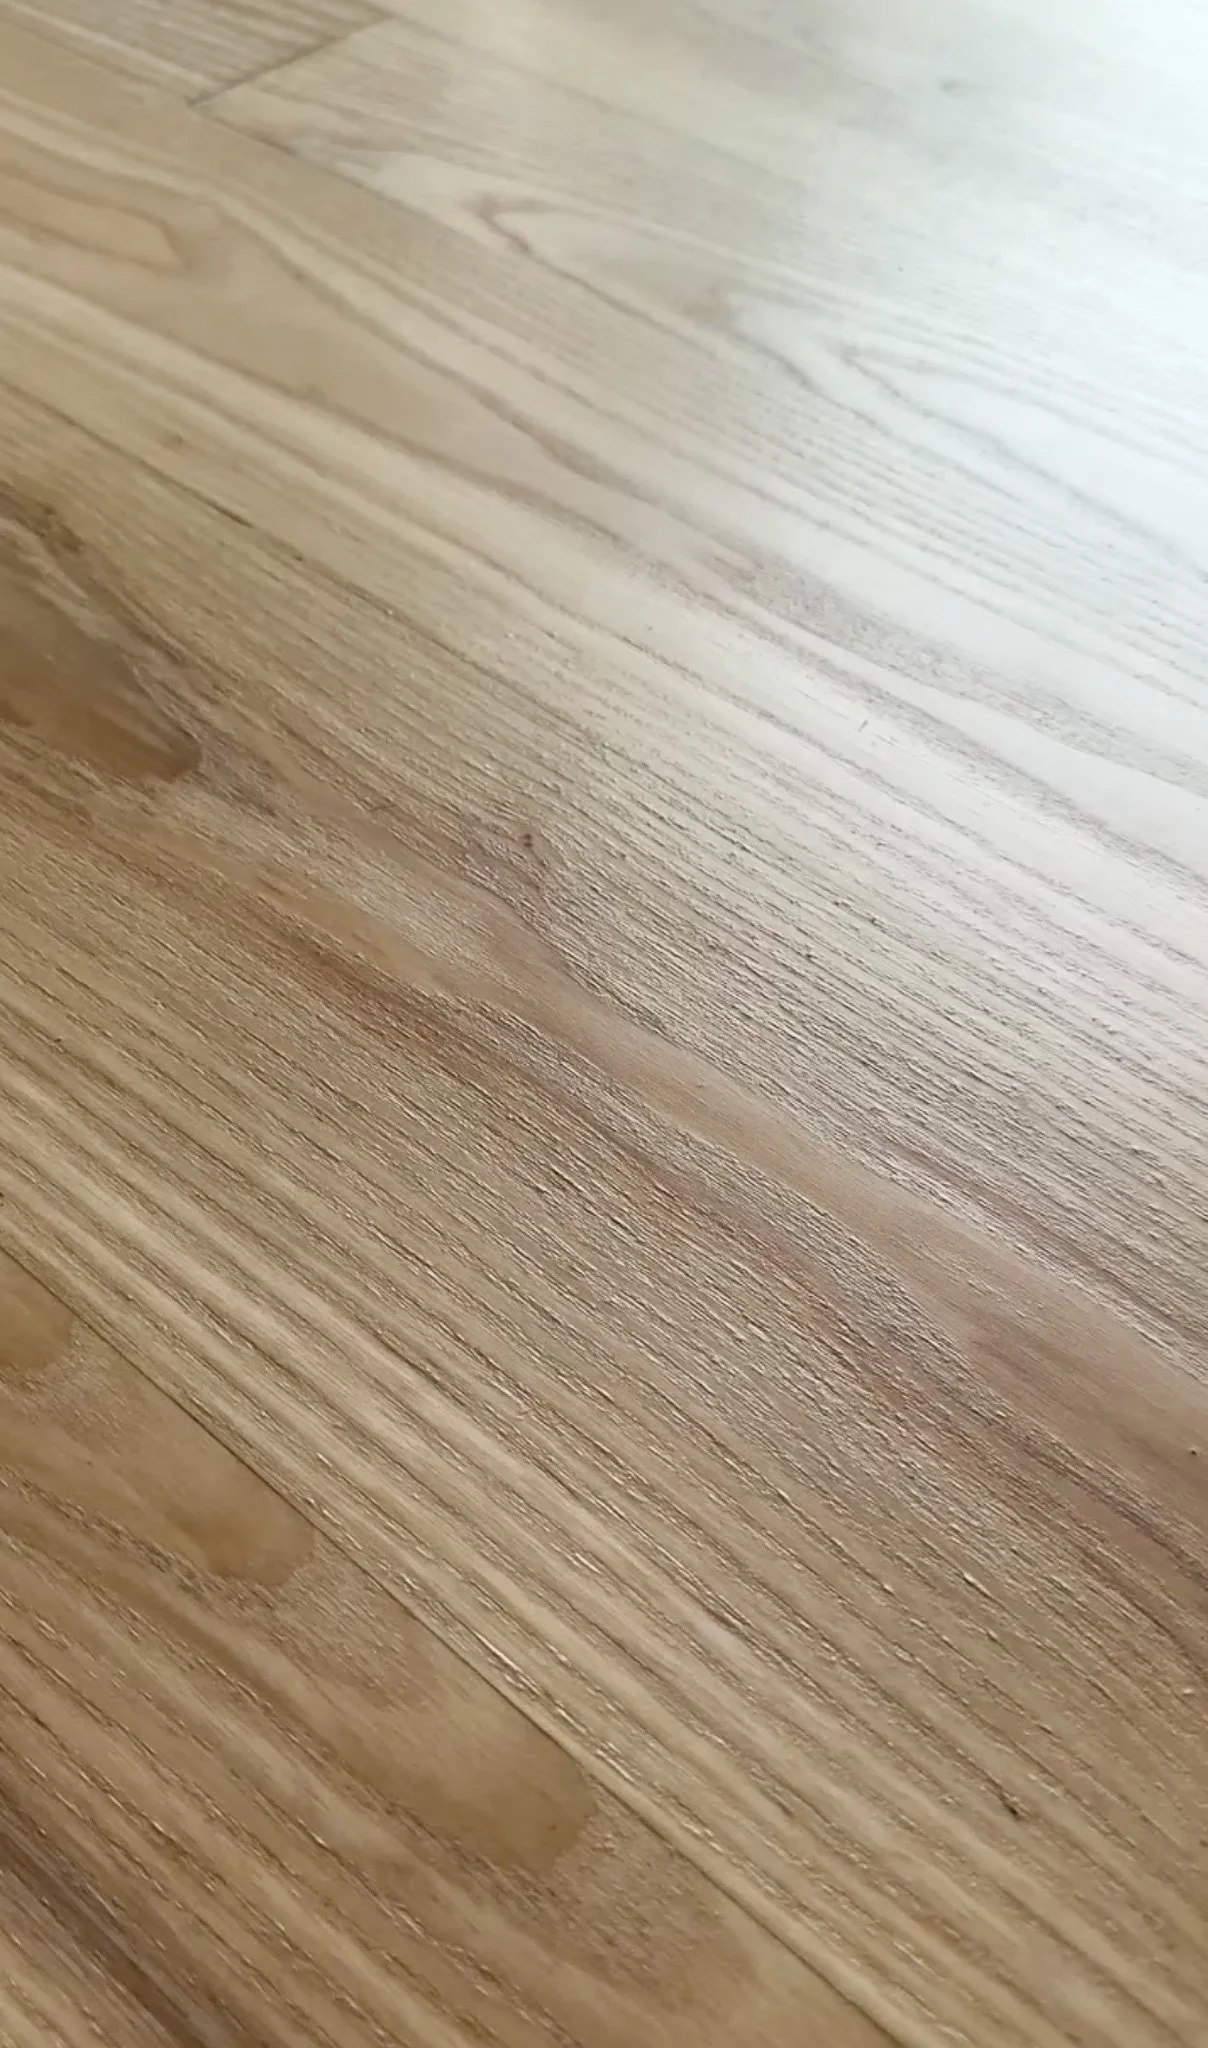
You can see how the grain raised after Priming the floors. We will lock this in with Step 2 - our first coat of finish, before sanding again.
Step 2: Loba EasyFinish in Satin Coat 1 - After about an hour it was time to apply our first coat of finish. We decided to add Loba Whitener to this step as well - because we really loved the look. We applied the finish the same way we applied the primer by going first against the grain and then with the grain, working from one side of the room to the other. We found that pouring a strip of finish directly on the floor worked best here too. While Stephen did the rolling, David poured the finish and carried a mini-roller to get any hard to reach spots.

Step 3: More Sanding - After 3-4 hours of drying we used the orbital sander with three 220 grit mesh sanding pads that we cut to size. We went across the floor, just like when we were sanding, to cut down the raised grain. What was left was a very smooth floor that needed cleaning.
Step 4: Loba EasyFinish in Satin Coat 2 - After sanding and cleaning we immediately went into our final coat of finish. We saw a lot of recommendations that you don’t want to do more than 2 coats, so make sure everything is where you want it before locking it in. We applied this coat just like we did for the primer and coat 1. Oh! We used more whitener for this step as well, and we really loved how it turned out.
