How to Create your own secret garden

It’s officially Summer here in Boston, and our garden is finally in full bloom! Being in a busy intersection we designed our backyard to feel like we have our own private oasis - the perfect extension of our kitchen and living room. This project was a labor of love and really took off in 2021. As you may remember from our more recent hell strip project, our gardening style has evolved over the last couple of years and this space reflects that cottage style garden that we love. Since then, our plants have matured, we’ve tweaked the space to best fit our needs, and we are out here enjoying our yard as much as we can.
Designing a secret garden can feel a little elusive, but we’re not gate-keeping any secrets here (although a gate would really help for this project!). Our garden renovations have included us building a deck, as well as lots of manual labor (who remembers us digging up our yard and installing railroad tie retaining walls?!). Fortunately, you don’t have to take all of these steps, or spend a fortune trying to recreate the cozy feeling in your yard - with the right planning and a few key design elements, anyone can create their own secret garden (who’s throwing a Bridgerton themed party this summer?).

The design PRinciples behind a secret garden
While some of what we did relied on bigger projects and renovations, we want to emphasize that each of these secret garden design elements can be done in different ways, and within a range of budgets. Everyone deserves to have that space to enjoy all Summer long.
Start with the Plants
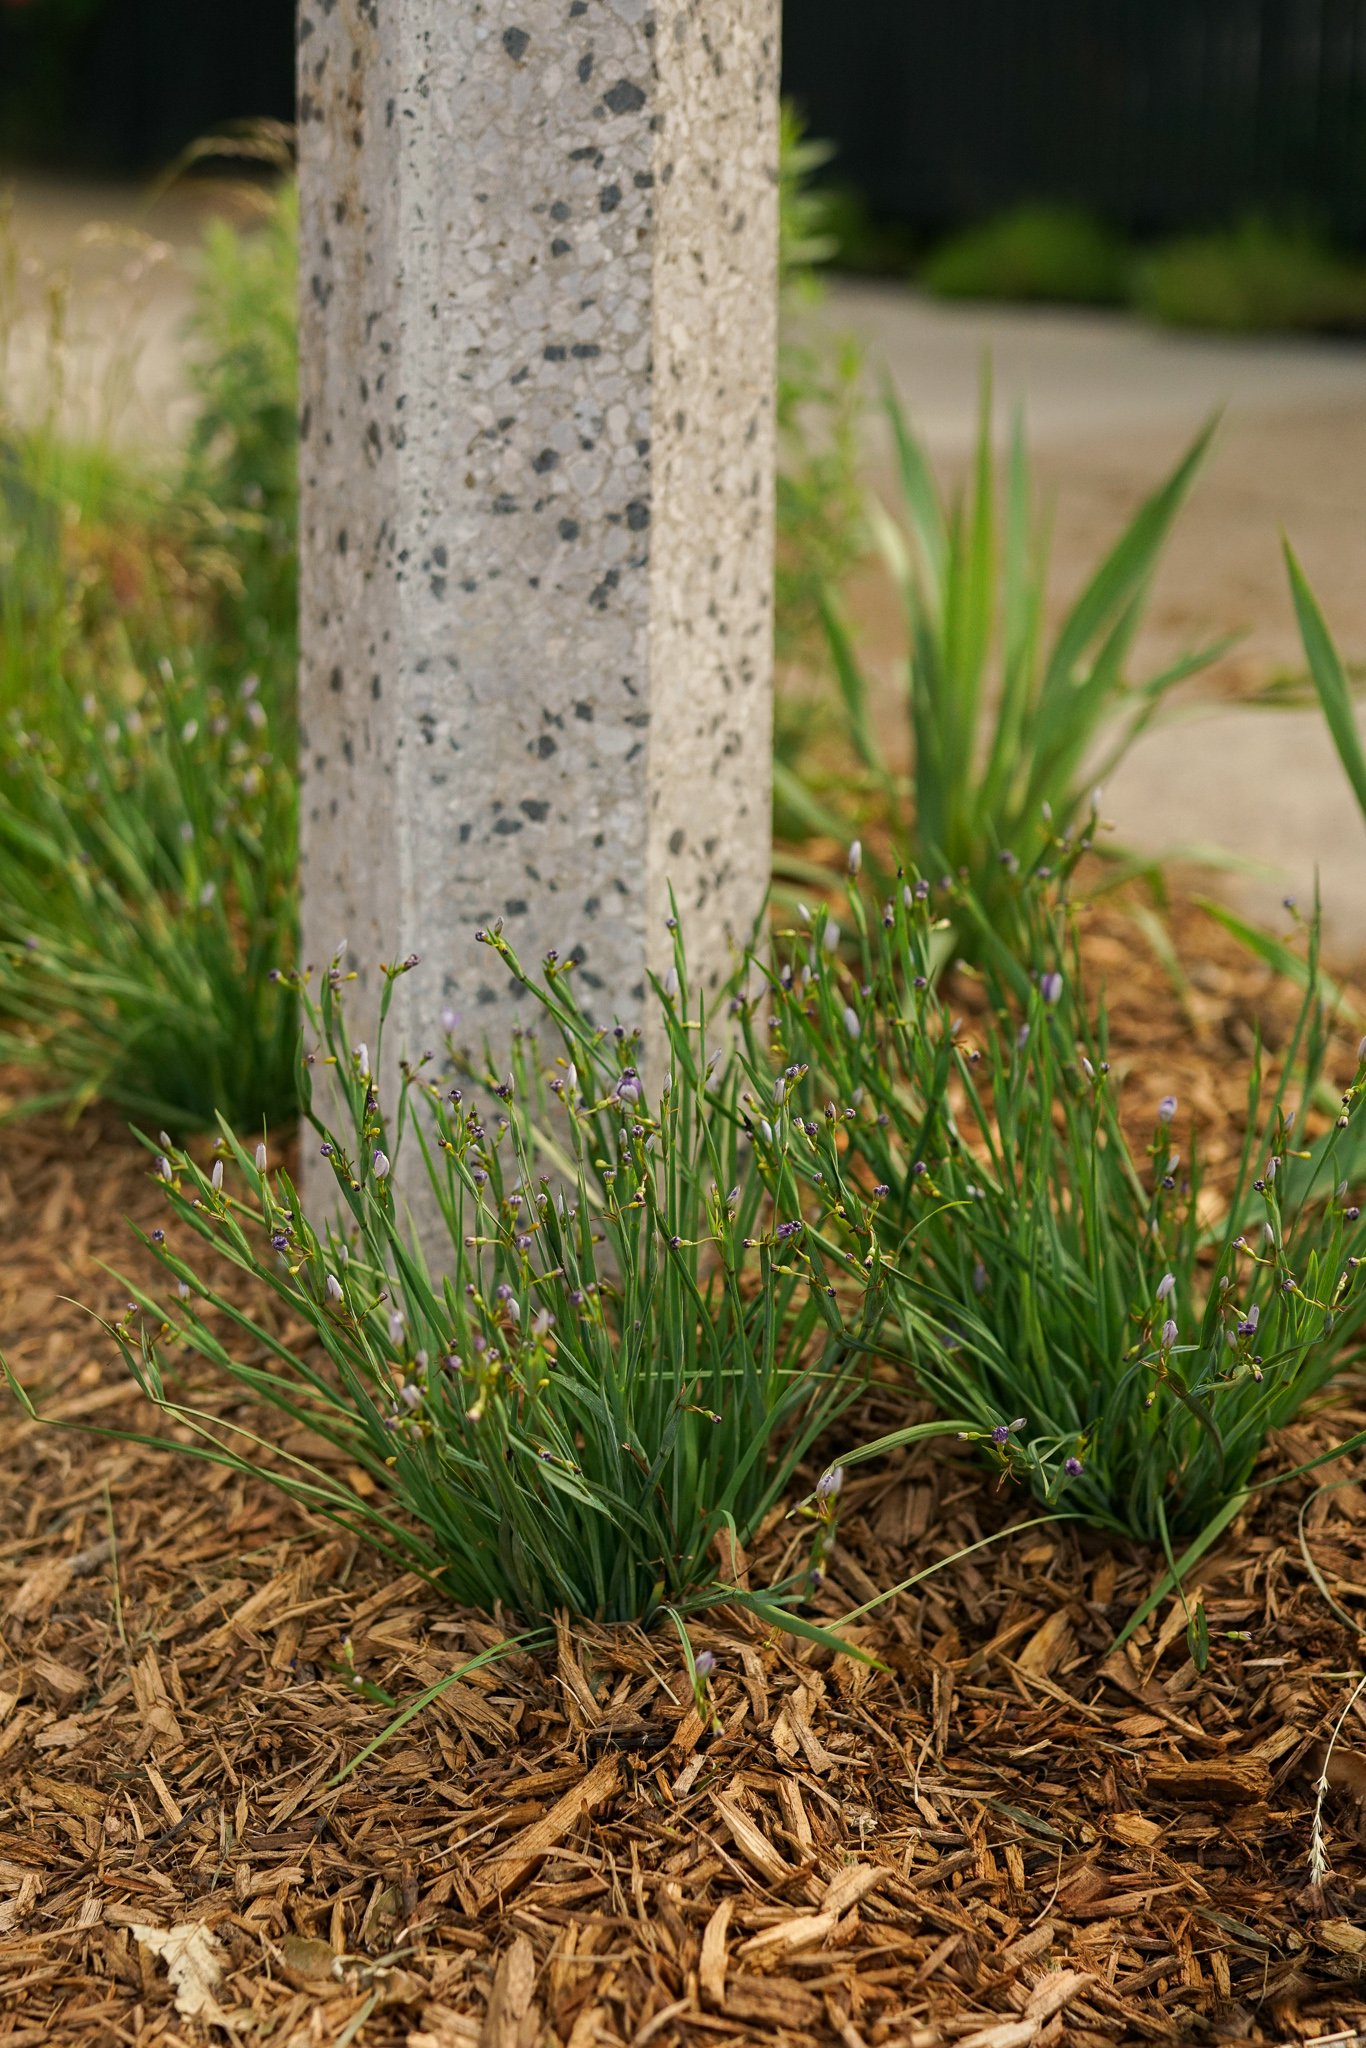
Arguably the most important part of creating a secret garden, is deciding on your plants. Cottage gardens are known for their more unkept, yet curated look.
To maintain the balance of whimsy and purposeful, start by establishing a clear color palette. Pick a main color (or two) that will be the anchor for your garden when it’s in bloom. Then, establish your next level of color - one or two shades that will pop here and there. For example, many cottage-style gardens are based in purples or blues, but have some pinks or yellows dispersed throughout to compliment.
Before putting any plants in the ground, be sure to arrange them in their containers throughout the garden bed. A cottage-style garden means a closer together planting style, but you also want to think about how the plants will grow as they mature. Height needs to be taken into consideration when you’re organizing, so that each plant can be seen and appreciated (hopefully you are much better at this than we are!). Ideally, you’ll have more condensed plants that will stay low to the ground along the edges of your area, and the taller ones in the back (or even the middle if your bed is not up against the edge of a yard!). Finally, make sure that your main color palette repeats throughout, and that pops of color are organized strategically. And don’t forget to get your hands dirty - they are just plants, they can be moved, you can change your mind, and getting it perfect just takes time and experience.
Our Lawn & Garden Favorites


TIPS FOR BUYING PLANTS
Check your local hardware and sale racks at your big box store to maximize your budget. Those looked-over plants can come back to life with a little TLC.
Make sure you understand your sunlight. Check several times throughout the day to see how much sun your space is getting. This way, you’ll hopefully avoid the pitfall of plants not blooming, or frying from constant sun.
Go with a list - that way you have a starting point and won’t be overwhelmed by all the beautiful options; or if in doubt, stick to your color palette.
Make an Entrance
An essential part of secret garden design is creating an entryway. This makes it feel more intimate and just more magical!

While a gate door of some sort is most obvious when it comes to creating your garden sanctuary, it’s not the only way you can create the feel of stepping into a new “room” in your backyard.
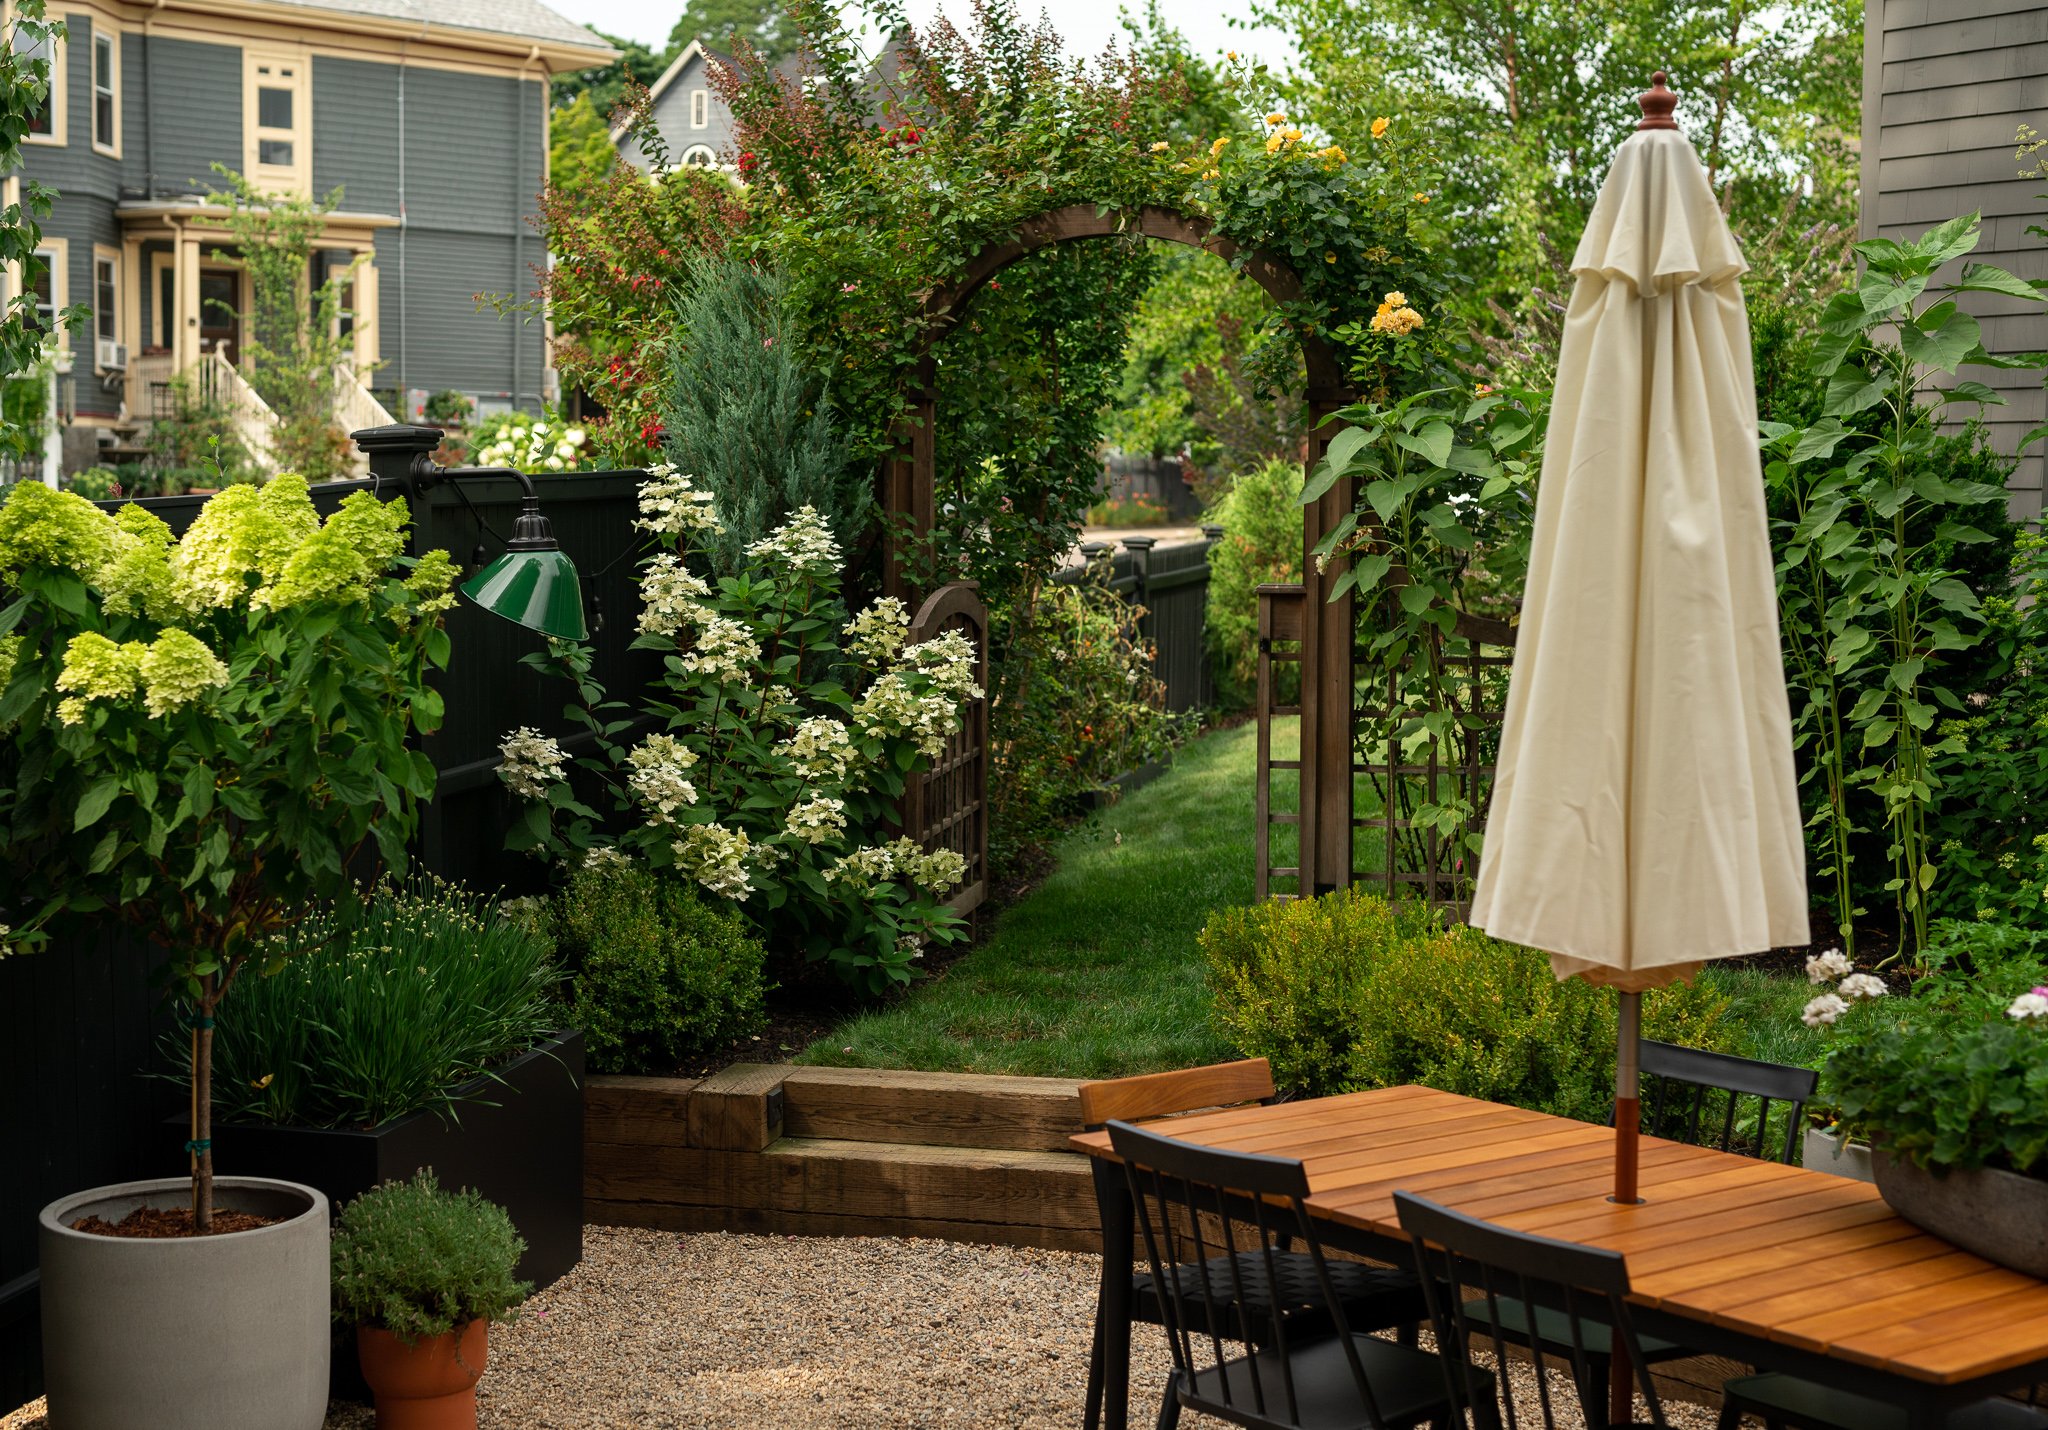
// Arbor or Trellis: We sourced our arbor from a local salvage and antique shop. You could also check Facebook Marketplace (especially out of season) for wooden arbors, or wrought iron gates. With a little refresh, you can bring these pieces back to life in a budget-friendly way. We found that this arbor was both affordable and highly recommended, we think it would be a great solution.
// Steps: Maybe you have a step down patio, or you’re creating a planter-box magic garden at the bottom of your deck stairs. Stairs are a great way to transition from the general yard, into someplace special.
// Two Trees: If you are lucky enough to have a mature tree, or two trees near each other, you could use nature to mark the entrance to your garden. Place a few solar-powered lights, or interesting stones, at the entry point into the garden to clearly mark the spot.
// A Rock Wall: Gather your rocks, or check out the many available on Facebook Marketplace (oftentimes, free), and build a little pile, or pillar on either side of your path.
No matter the entrance you use, it should be lush with flowers and greenery. If you have an entrance with some type of overhead structure, like an arbor, add some climbing vines and flowers. Overtime, if you make sure to train the growth in the right direction, your secret entrance will become even more interesting.
Create a Path
To continue the whimsical feeling of entering your secret garden, we recommend having some type of path. For a more organized look, you could lay down bricks. But, to keep with the more playful feel, find some interesting pavers that invite your secret garden guests inward.
This is something you could look for at your local garden center, or find for free/reduced prices on Facebook Marketplace/groups. If all else fails - or if pavers are prohibitively expensive - look into other options like a mulched path!
Remember, a secret garden is about being perfectly unkept. So, uniquely shaped pavers and imperfect path lines are actually ideal. You could even paint your pavers if you were looking for more color.

Ground your space
In order to make your secret garden feel like its own special space, independent from the rest of the yard, you want to ground it in some way.

For our backyard, we actually dug up this area and installed retaining walls. Hard work would be an understatement for this phase of the project. We dug 20” deep all the way around, did lots of leveling and grading, then added rebar and a French drain. Finally, we laid down some pea stone.
This obviously takes a lot of planning (and hopefully lots of friends who want to help you). But if this isn’t realistic for you right now, there’s other ways to substitute that cozy feeling you get from being sunken down.
// Pea Stone: Depending on the space you want to cover, pea stone could be a great option. You could cover an 8’x10’ area for under $100. We suggest putting down a weed barrier first.
// Pavers: Another idea to define the area is to add pavers. You could lay them down on top of the grass; or dig up the space, add pavers and fill the space between with pebbles.
// Rugs: The most budget friendly way to ground your garden oasis would be to add an outdoor rug. Try layering a couple so that it has a luxe look. Outdoor rugs don’t have the longest lifespan, so this is not the type of item we’d recommend splurging on.
// Mulch: Don’t be afraid to just go wild with mulch. It’s inexpensive and easily replaceable - over time we have leaned more into natural cedar than dyed mulches.
Lighting
Ambient lighting is an absolute must for your secret garden. In fact, we recommend including a couple of light sources throughout the space. When we were doing the front yard, we knew that this project was coming - so, we bought a low voltage system and ran a wire to the backyard. With this, we could hardwire our sconces, deck and fence lights. We really liked our spotlights from the front yard, so we added those back here too. Paired with some string lights, it’s a really romantic feel at night.

If you don’t have electricity set up in your backyard, there are tons of great solar or battery powered options.
// Wireless Lighting: Solar powered or battery operated are two alternatives to hardwire electrical lighting in your backyard. Both Amazon and Home Depot/Lowes have tons of great options. Here are some of our favorite wireless lamps from Amazon. We also recommend adding uplighting for your beautiful plants or trees, as well as lighting for along your pathway.
// String Lights: We like these ones
// Lanterns: A few solar powered lanterns help set the mood, too.
Remember, aim for a couple of different light sources and be mindful of keeping a dark sky…in fact, it may even be required in your area. In Maine, we are using downlighting only - and it’s only on while we are using it.
Bring some of the inside, outside
Next, think about what you can see yourself using the space for - is it relaxing, playing with the kids, hosting dinner parties? Think about the furniture you’ll actually want to use in this space. If it’s meant to be a spot to read your book, then you want to pick a chair that makes that comfortable! The more you customize the furniture here, the more you’ll use it like another living space.

All Black Chairs // End Chairs // Table
We separated our space into two different zones - a place to enjoy dinner with family and friends, and a lounge area.

Couch // Lounge Chair // Wool Throw // Neutral Wool Pillow // Plaid Pillow // Bench/Coffee Table
secret Garden Decor
Now for the finishing touches! Every secret garden has to have a water feature. We dug up our own two-tiered pond and added koi fish. However, if that’s not for you, try adding a bird bath. Put this solar powered fountain in your birdbath, and you can hear it bubble all day long.
Another way to build visual interest is to include planters in different heights, textures and colors. Use fragrant plants like lavender, basil, or jasmine, and group them around your seating area so you can enjoy the smell as you’re relaxing- even better, it’s also functional. In fact - there are so many ways to include vegetables or edible plants right into your gardening plan.

Finally, layering in the textiles will make it even dreamier. Add a table cloth, throw pillows and blankets to make it feel like you’re in your living room.
Now, set the table and invite some friends over!


Shop Our Secret Garden


Final Thoughts
Something we’ve learned over time is that gardening requires a lot of trial and error. It can take a few tries to see what grows best where and that is totally ok! At the end of the day, they’re just plants -so don’t give up - you may be surprised next year when they come back stronger!
Everyone can create a happy space in their yard to enjoy all season long. You deserve it!