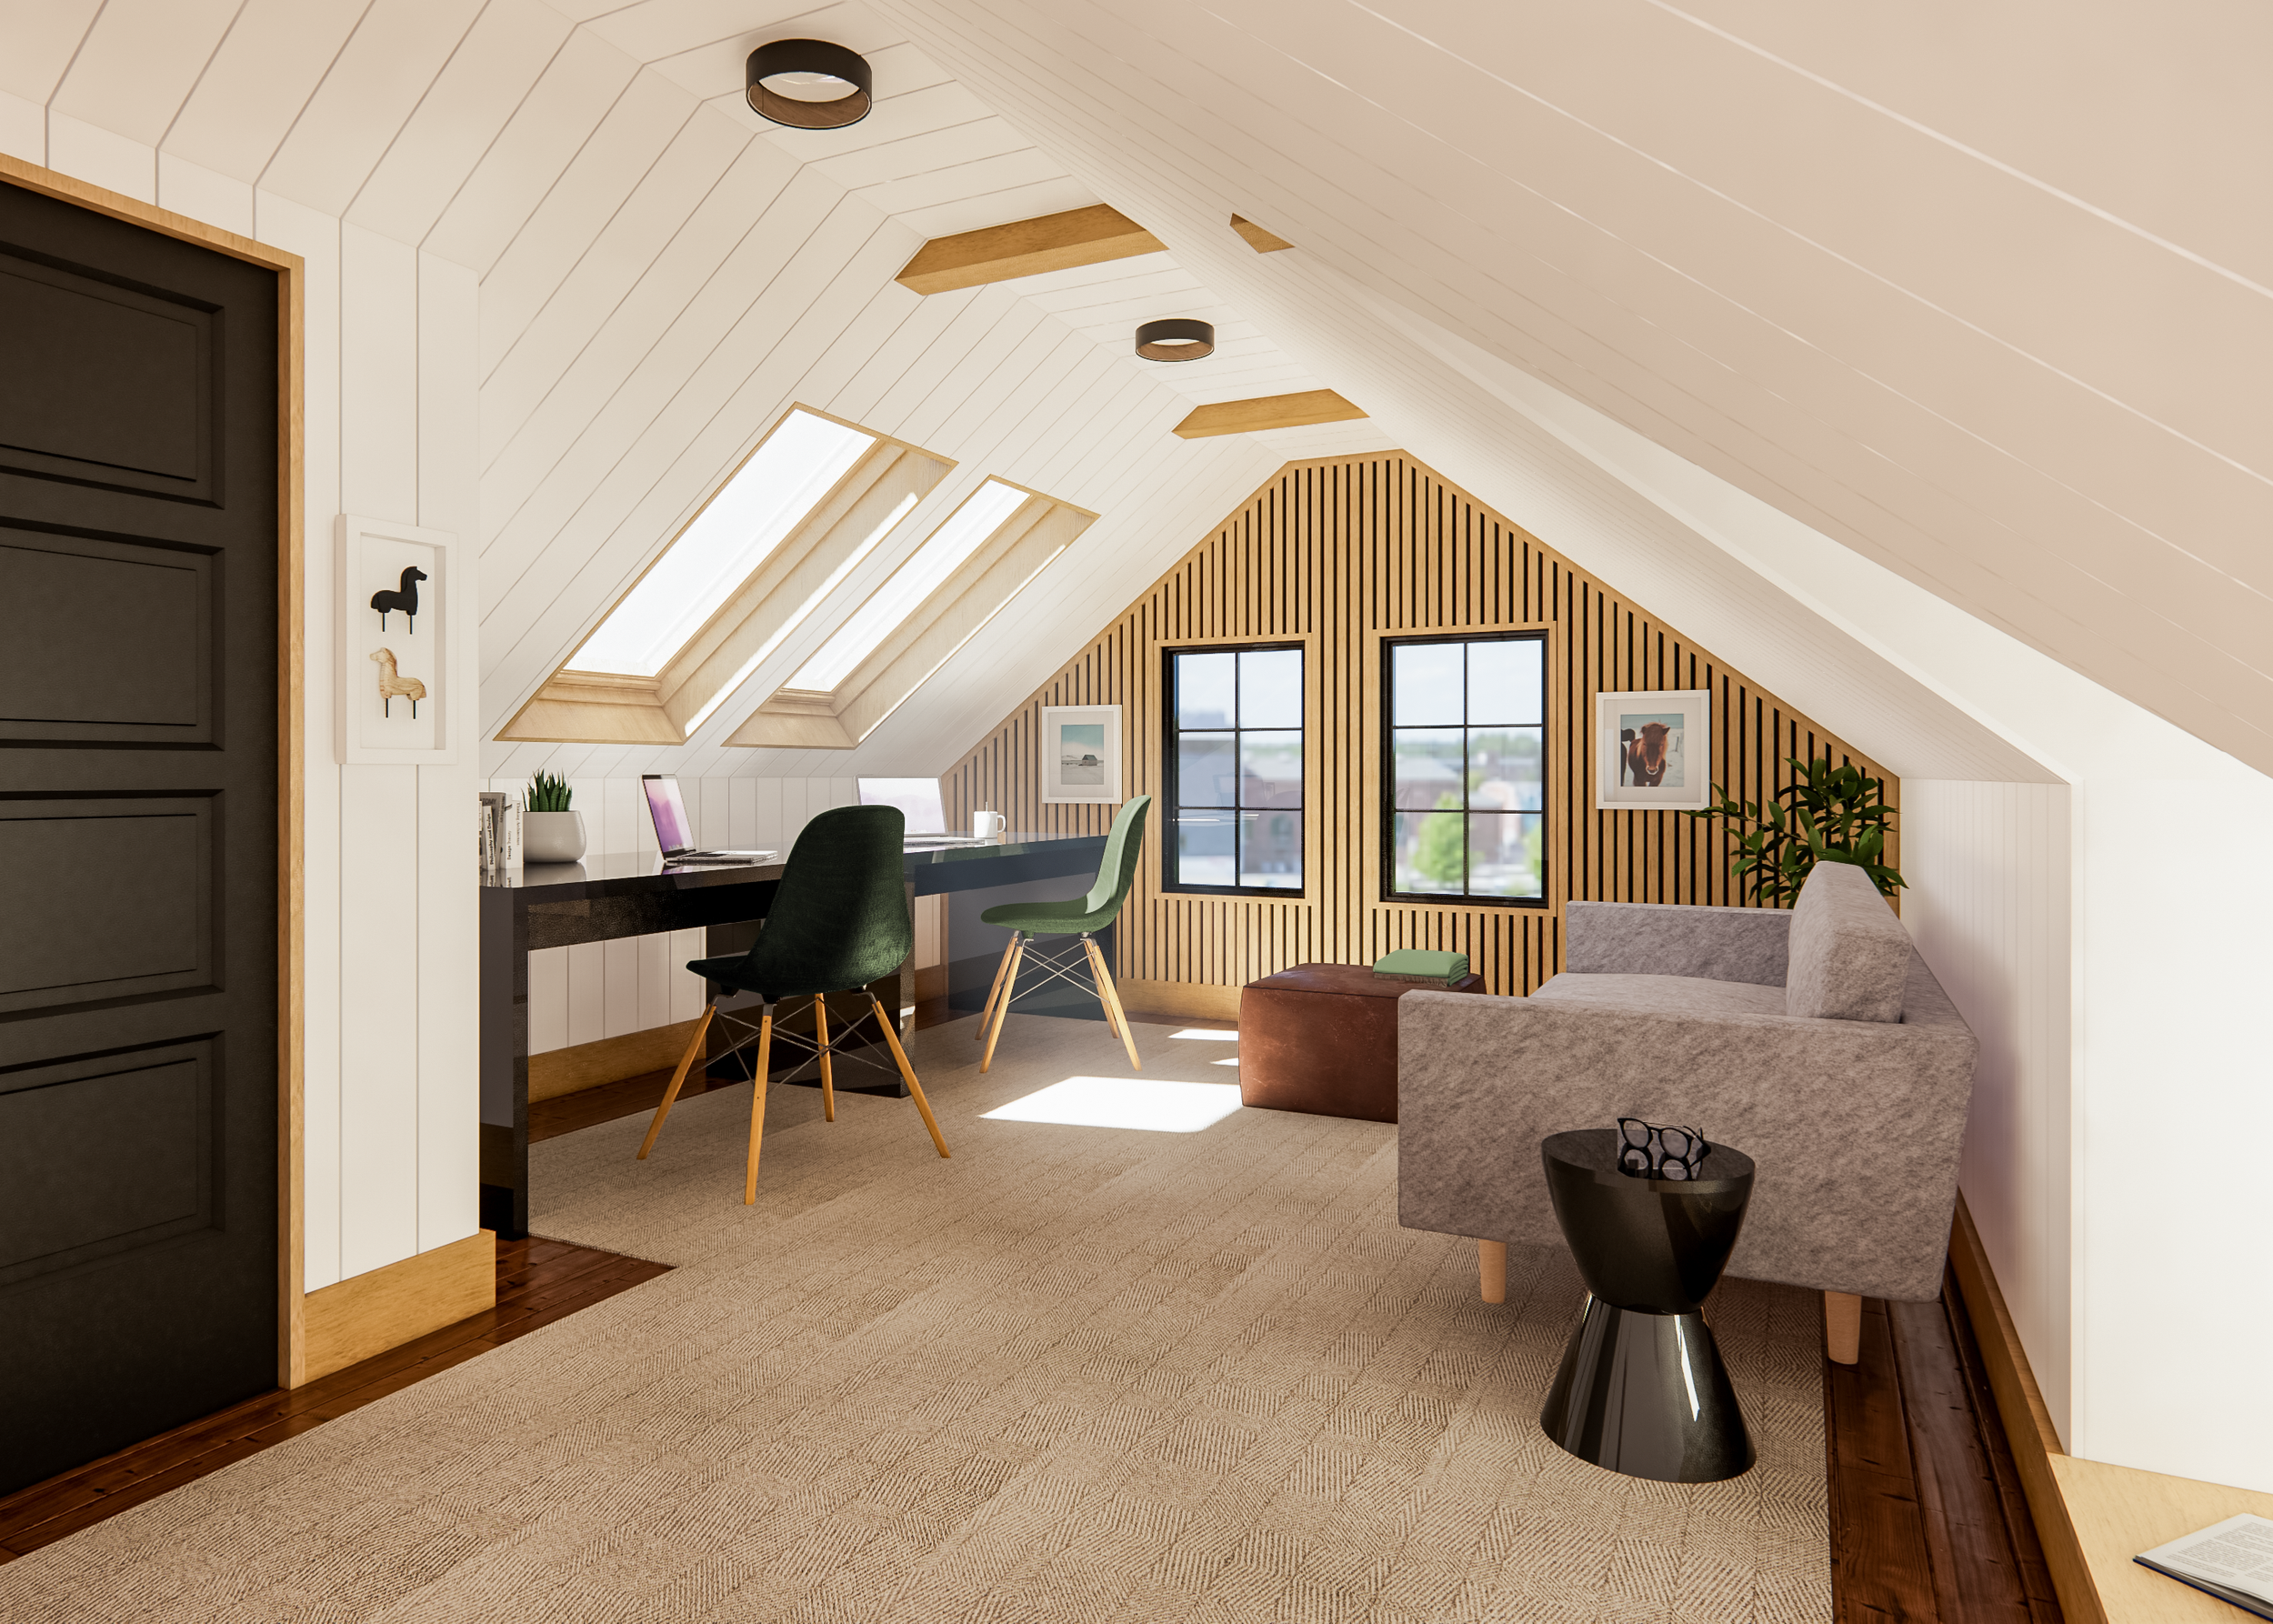
3rd Floor Trim Profiles
We are so excited to finally be talking about trim! If you have not seen already we have an entire blog post dedicated to all of our trim profiles but this post is special as it focuses on the 3rd floor exclusively. For this project we are using Kuiken Brothers - we have big fans of KB for a long time and we were so excited when they helped by contributing the millwork for this project.
We strongly recommend checking out Kuiken Brothers Moulding Design Guide, even if you are just looking to learn more about moulding. Its a VERY helpful resource and helps break down how trim work is assembled to achieve specific looks.
This is an example from the KB design guide on a completed space with the trim profiles provided.
INFORMING DESIGN
The overall inspiration for these spaces is nordic design (See: 3rd Floor Design Plan) which is very much characterized by clean lines, limited detail, and a neutral palette. When sourcing our millwork, flatstock trim seemed like TOO much of a departure from our otherwise very detailed home.
Enter: The Kuiken Brothers Modern Craftsman Collection. This collection perfectly captures the simplicity we are looking for while still maintaining the proper scale and proportions for our home.
Via: Kuiken Brothers Modern Lake House Study
Paneling for days
We have always talked about the day that we would panel the 3rd floor. No drywall, nothing too trendy, just good ol’ tongue and groove paneling (with a v groove!) - and the time has finally arrived. This is probably a good place to note that tongue and groove is different from shiplap but they are often confused. If you are unsure, its worth the google.
kuiken brothers
KB904 REVERSIBLE TONGUE & GROOVE PANELING BEADED CEILING
The paneling is pre-primed tongue and groove with a V groove. This means that when you put two pieces together they don’t just stack but there is an additional detail. The neat part of this trim is that it is reversible offering a bead board style on the opposite side.
Demonstrates KB904 Reversible Tongue & Groove Paneling and KB256 Modern Craftsman Base
window & Door Casings
The next trim profile we chose was the widow and door casing - which is just that, the trim you see around the windows and doors. This trim really frames out the space and makes it look finished.
kuiken brothers
KB161 Modern Craftsman Casing
This pre-primed casing is both modern and timeless.
Demonstrates KB161 Modern Craftsman Casing
Baseboard
Last but not least… the baseboard. This is last on the list because it’s the last to be installed and really completes the entire look.
kuiken brothers
KB256 MODERN CRAFTSMAN BASE
We think this chunky base perfectly resolves the tongue and groove and grounds the enitre look.
Demonstrates the intersection of Paneling, Casing, and Baseboard
Window Finishes
Beyond the casing there are two additional pieces of trim to finish off these windows. The stool (or sill) and the apron (that piece just below the stool). In this case we used a smaller version of the baseboard as an apron and think that the repeated element will help with cohesiveness.
P.S. Kuiken Brother also provide CAD Files of all their profiles which makes people Stephen VERY happy, and allows him to mock-up all of our millwork ahead of time like the model above.
FINAL THOUGHTS
We are so excited about the progress we have made on this project and we can’t wait to see it all painted! We have been very happy with our decision to go with Kuiken Brothers as our mill work supplier.
If interested, they ship to project sites nation wide and as always, please feel free to ask any questions!


